How to configure Plesk mail in Mac
Here is a step-by-step guide to help you configure Plesk mail in Mac.
Step 1
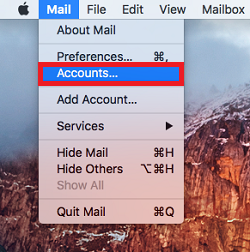
Open Mail, either from Dock:

or from Spotlight (CMD+Space):
Step 2
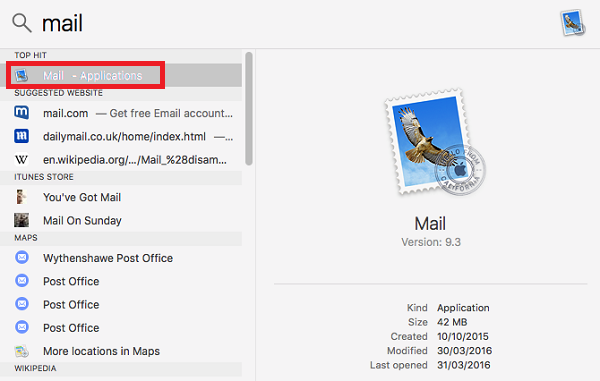
On the Finder bar, click ‘Mail’ and select Accounts.
Step 3
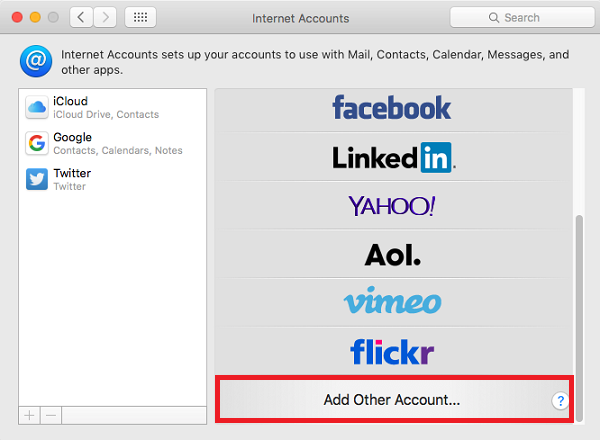
Expand Add Other Account:
Step 4
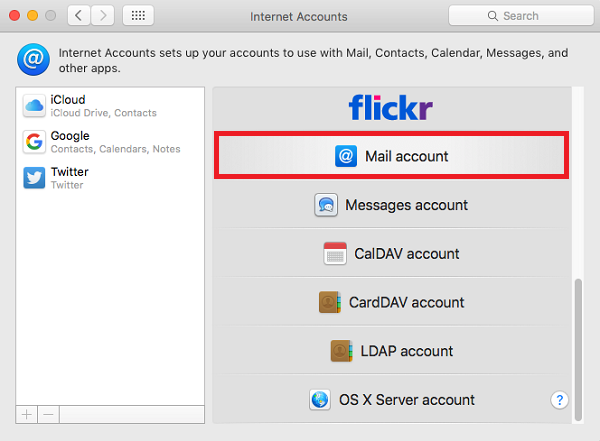
Select Mail account:
Step 5
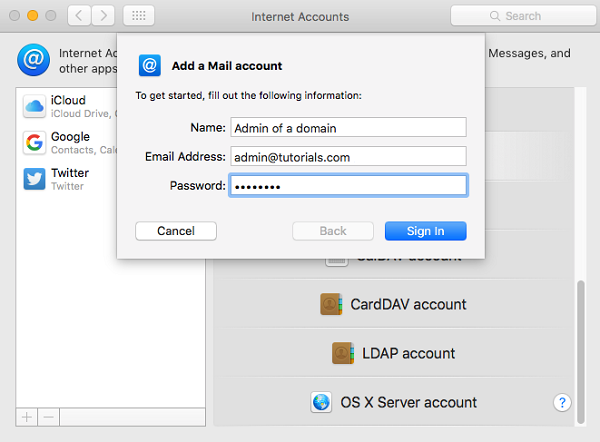
Provide your email login details:
Step 6
To discover incoming and outgoing mail server settings for you account, please visit this site and use your email address as a parameter.
Step 7
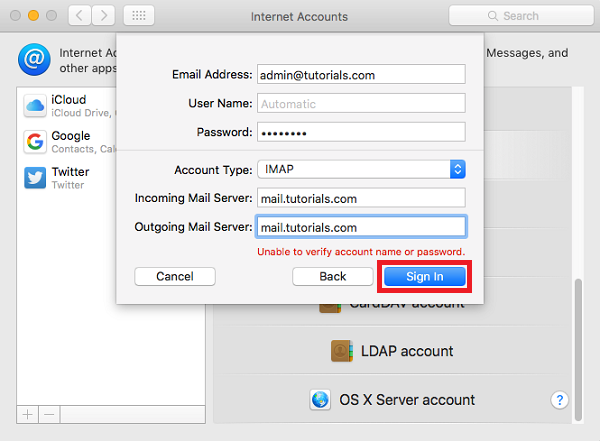
Select the account type (POP or IMAP) and enter the incoming and outgoing mail server names. If you have doubts on whether POP3 or IMAP suits you best, see our article about general settings.
Step 8
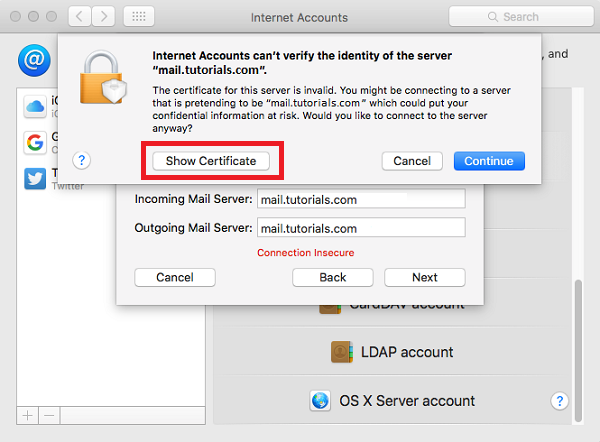
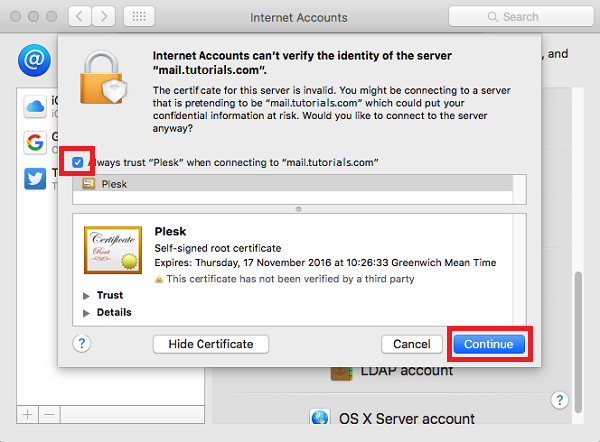
If you receive a SSL Certificate warning please open a support ticket at help.layershift.com in order to investigate the mail server setup:
Step 9
To accept the certificate permanently tick ‘Always trust’ and hit ‘Continue’.
Step 10
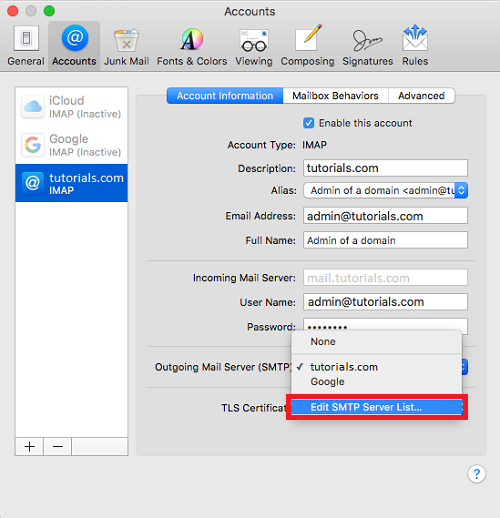
To set up SMTP (outgoing mail) select to ‘Preferences’ from the ‘Mail’ menu.
Step 11
Expand SMTP and choose Edit SMTP Server List from the drop down menu:
Step 12
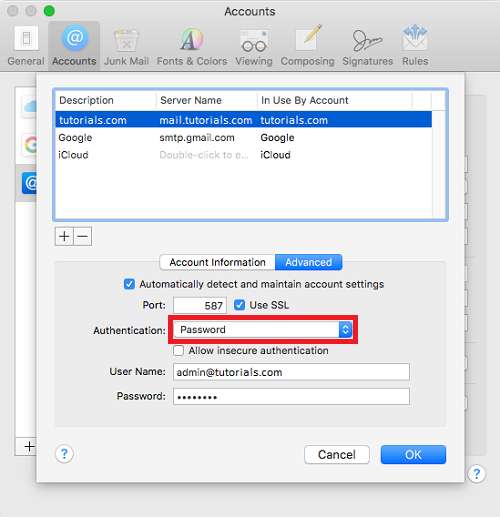
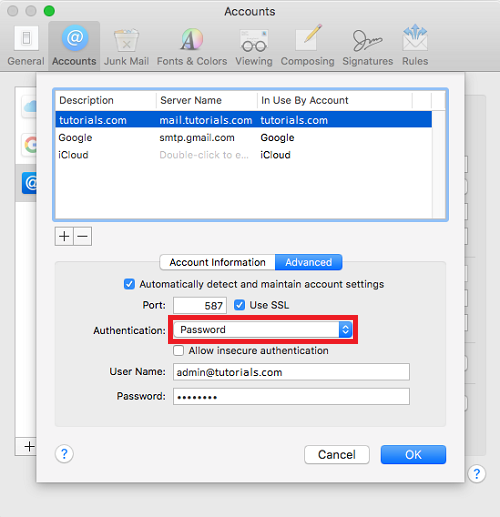
Go to the Advanced tab, set Authentication to Password and enter your login details.
