Enscale WordPress Installation
To create a new environment with a manual installation of WordPress you will have to take the following steps:
Deploy new environment
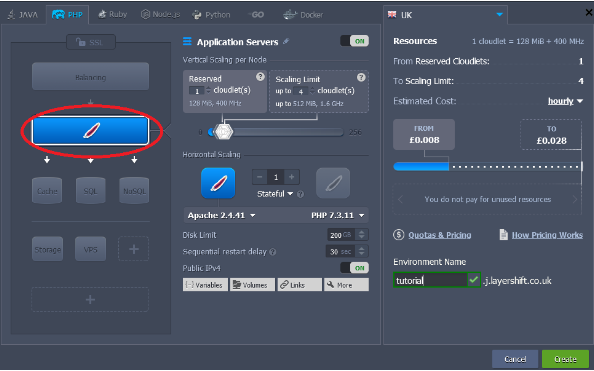
- Create a new environment with the desired resources:
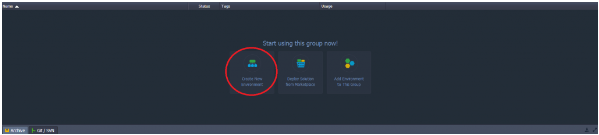
- The environment you create should have at least one application server (Apache,Nginx) and a database server (Mysql/Mariadb)
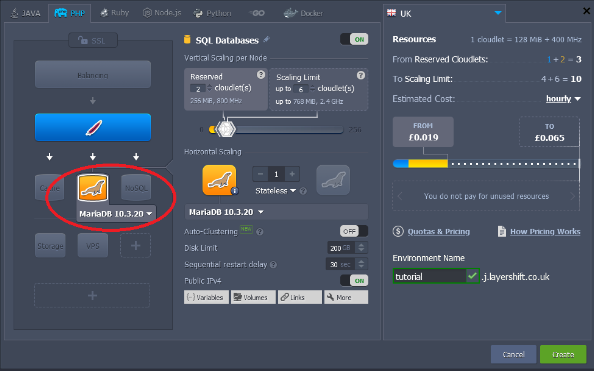
- After the environment was created, you will receive an email with login credentials for the database server. Keep those at hand, as we will need them soon.
Upload and deploy the WordPress archive
-
Next, we will proceed to upload the WordPress archive to the server. You can download the default WordPress installer from here.
-
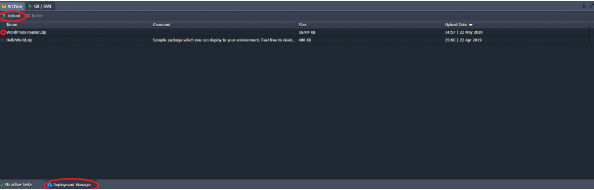
In the lower left corner you will see the Deployment Manager option.
-
Here, click the Upload button, and select the newly downloaded archive.
-
From here, check the WordPress-master.zip archive, and click Upload as shown in the following images:
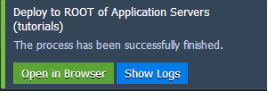
- After the archive was deployed successfully, in the top right corner you will be prompted with the following message. Please click the Open in Browser button.
Configure WordPress
-
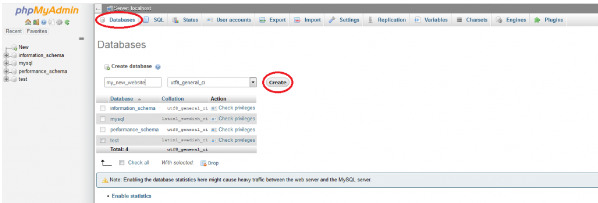
Now we will proceed to create the database that will be used for the new WordPress installation.
-
From the email you received, please select the one regarding the database server. It will contain a link to the database server, the user name (root) and the user password. Using these, please connect to the database server. From here, select the Databases tab on the top side, set the database name, and click Create as shown here:
-
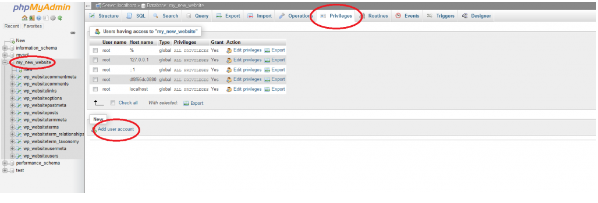
After the database was created, we will proceed to create a database user.
-
To do so, we will have to click the database we created, and go to the privileges tab on the top bar. From here, click Add User account on the bottom left, and proceed to create the user. We strongly recommend you to use a unique username and a strong password (should contain uppercase letter, lowercase letters, numbers, special character).
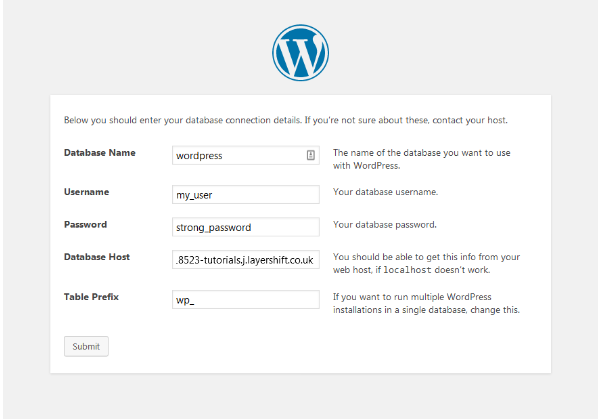
- Now switch back to the WordPress installation page and connect the new database to the server using the following settings:
Database Name: the database name you created Username: my_user Password: password created for the mysql user Database host: server name from email (node####-XXX.j.layershift.co.uk)
- Create the administrator username, and password. We strongly recommend you to use a unique username and a strong password (should contain uppercase letter, lowercase letters, numbers, special character)
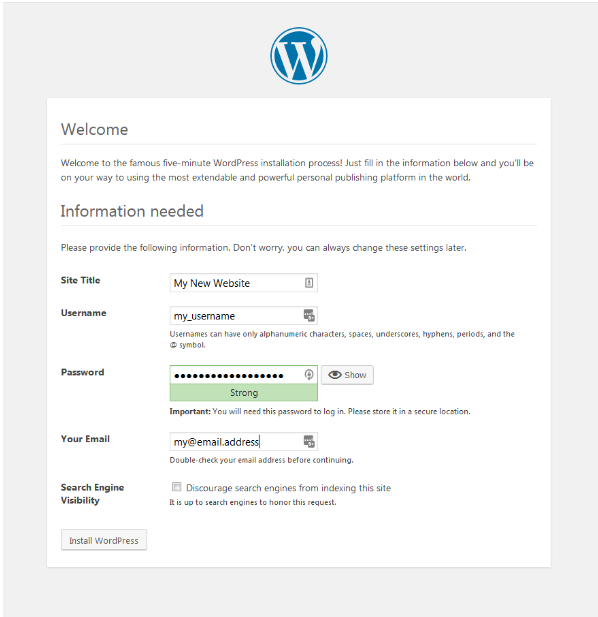
Congratulations! You have successfully installed WordPress on your new Enscale Environment.